“Hey Dad, can we build something fun like a birdhouse or something?” is what my son said to me a couple days before the 4th of July. I leaned into my wife sitting next to her on the couch and said, “what do you think honey, should we build something?” She already had an idea in mind and I just needed to help my kids build it. Sooo, here is our Fantastically, Fun, 4th of July, Flag that we built and have hanging on our door.
The steps are pretty simple and since you’re looking at this and thinking that you want one, let’s build one together.

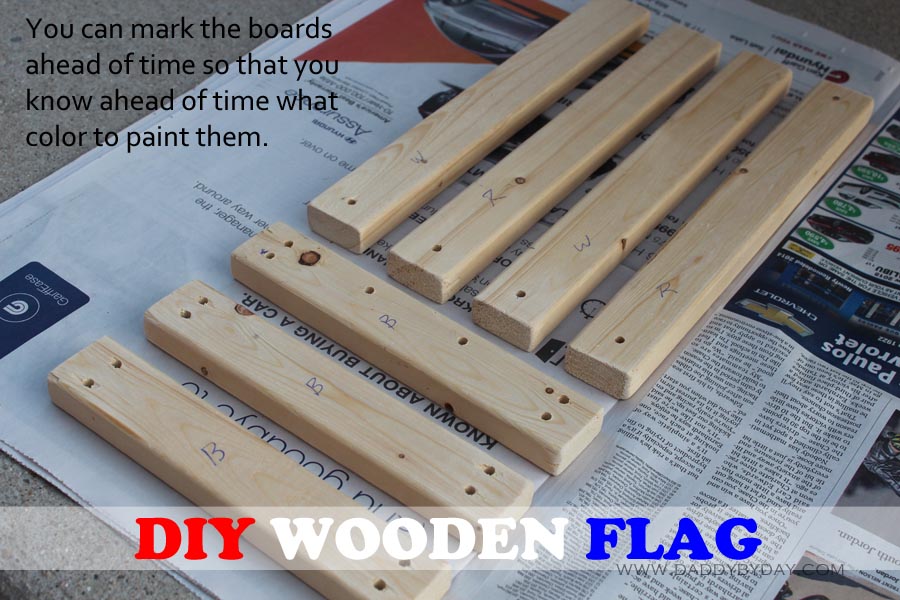
Step 1: Buy a 1 and 1/4 inch by 1/2 inch 6 foot long board. Cut 3 sections of the board to 7.5 inches. Cut 4 sections to 11 inches and lay all the boards out like the picture below to get an idea of how it looks. We used a Miter Saw and measured each board one at a time so as to avoid them being different sizes.

Step 2: Mark the boards with dots so you know where to drill the holes for the wire.

Step 3: Using an electric drill, make the holes using a 3/16 inch drill bit. Only drill the hole half way, then turn it, hold it in your hand, and drill through the other side to avoid drilling through any surface.

Step 4: Sand the entire block, but mostly concentrate on the corners and any sharp edges that the drill may have left.


Step 5: Mark the boards so you know what color to spray paint them. I did R for red, W for white, and B for blue.
Step 6: Use either glossy or matte finish spray paint. Lay the wood on newspaper outside the house so nobody gets sick from the paint fumes. Spray in even strokes back and forth to avoid having the paint pool in one spot.
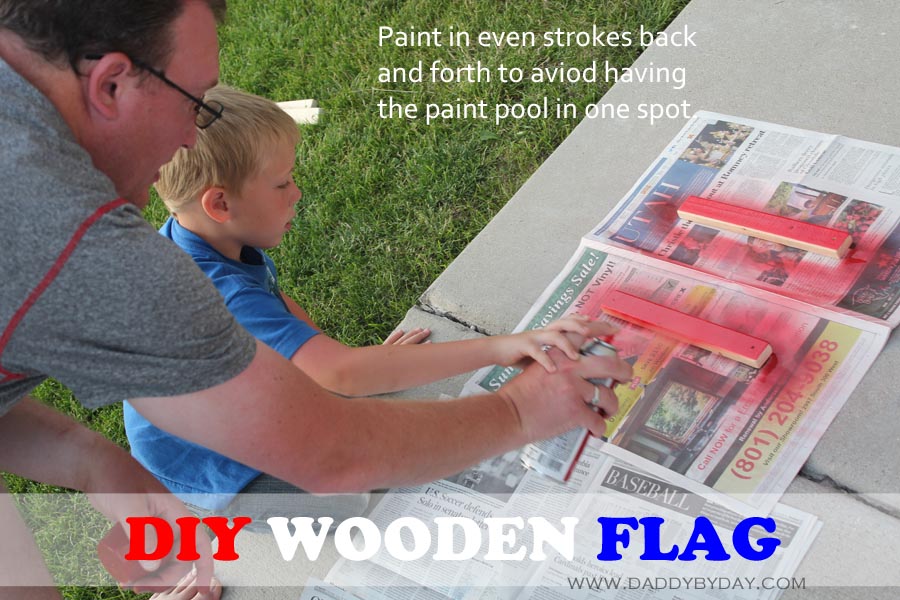
Let it dry for about 5 min. and then take a toothpick, put it into one of the holes that you drilled, and carefully drag the wood to a clean part of the paper and let it finish drying. This will keep it from drying to the newspaper.

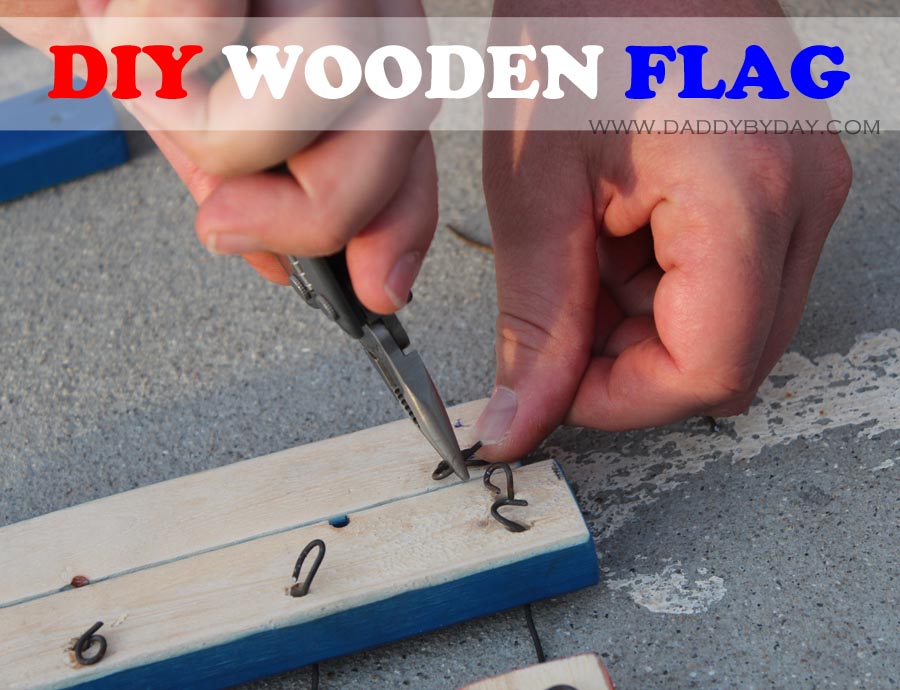
Step 7: We used Tin snips to cut wire in approx. 5 inch pieces. Take each piece and attach the boards together.

I bent the wire on the back unpainted side of the wood, twisted it, and flattened it against the back to keep it from pulling through.
It looks great already and your almost done. You can look for a star stencil and paint white stars on the blue boards for added effect. You would also tie red, white and blue ribbons around the wires. This can be done on any scale – ones half this size would be great to hang in your house or even your car, and you can paint both sides.

The kids loved helping during the whole project, from drilling holes (with me holding the drill of coarse, and them putting their hand over mine), to sanding the wood and pushing the wire through the holes. They had a lot of fun.
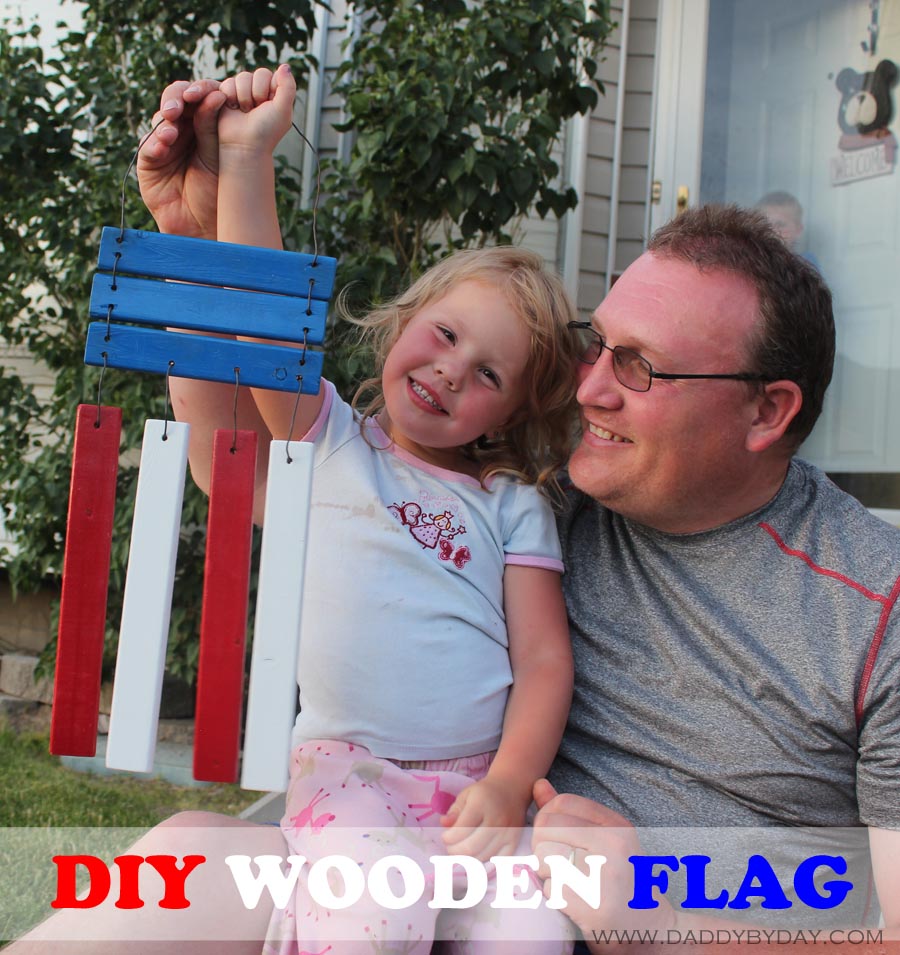
Step 8: Hang your wooden flag on your front door, or wherever you want so everyone can admire.

Very Patriotic and fun for the whole family. This DIY Wooden Flag project only took about 30 minutes to put together (not including drying time for the wood). They are also great to make and take to friends and family.
Please let me know how your fun flag making went by sharing your project below!



Leave a Reply