This shop has been compensated by Collective Bias, Inc. and its advertiser. All opinions are mine alone. #MembersMarkDetergent #CollectiveBias

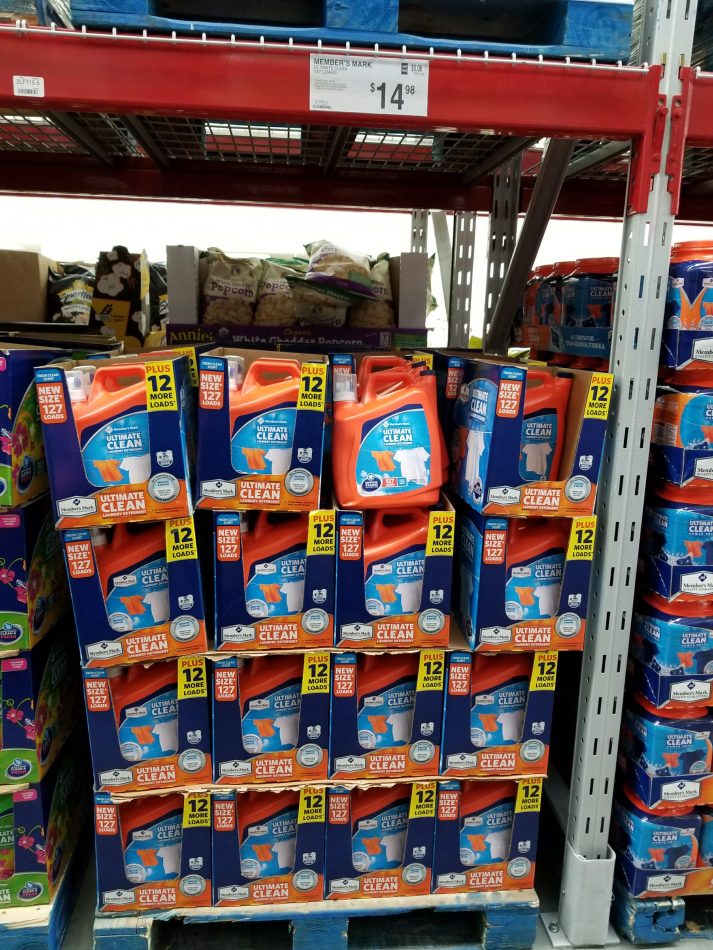
The holiday season is a great time to spend with your family. And there is nothing more satisfying than doing something for someone you care about. With some extra time at home on vacation for the holidays, I wanted to do something fun for my wife. She has always wanted a heavy duty sturdy shelf to store her Member’s Mark® Ultimate Clean Fresh Clean Detergent from the Sam’s Club store. Member’s Mark laundry detergent gives you superior cleaning performance at an exceptionally great value. Member’s Mark laundry formulas have recently been upgraded for even more stain fighting and whitening/brightening power. With that shelf, she has always wanted a unique mason jar storage for her brushes and other cleaning supplies. So I thought why not, let’s do this.
I will make this a fun step by step DIY project so hope you will enjoy and do this with me.
Disclosure: All measurements, cuts, and drill holes are approximate and adjustable to your own projects specifications. My projects measurements and specs are as follows:
- Measurements and wood. Cut all boards to these specs.
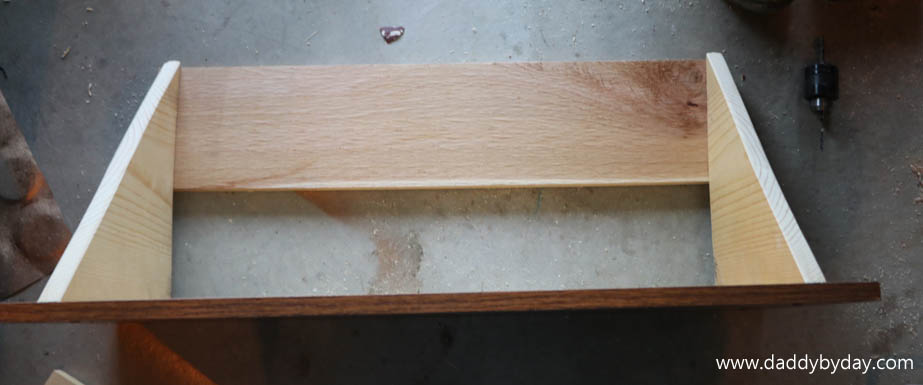
3 pieces of wood: Shelf – 1 in. x 3 ft. x 12 in. Back support board – 1 in. x 2 ft. 8 in. x 6 in. Triangle shelf supports – 12 in. x 12 in. x 17 in.
- Measure and drill holes.
Use a 3/32 drill bit to drill all holes.
Shelf – Measure 2 in. x 2 in. from the top left and right of the shelf, mark with a pencil. Measure 2 in. x 8 in. from the top left and right, straight down the 12 in. sides and mark with a pencil. Drill all the way through the board.
Back support board – Measure 1/2 in. x 1/2 in. from the outer edge of the board from the top and bottom on both the left and right sides and mark with a pencil. Drill all holes all the way through.
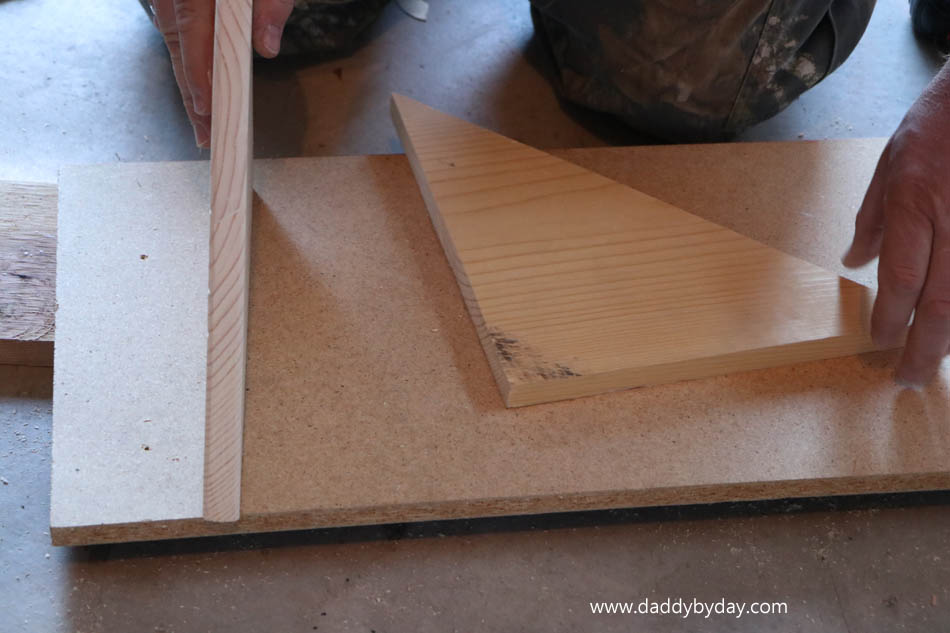
Triangle shelf supports – (This is the side that mounts to the shelf) Measure 2 in. from the top, mark with a pencil. Measure 8 in. from the top, mark with a pencil.
(This mounts to the back support board.) Measure ½ in. from the bottom of the triangle and mark with a pencil. Measure 5 in. and ½ in. from the bottom and mark with a pencil. Repeat this on the other triangle. Drill holes. Make sure to not drill all the way through the triangle.
- Sand
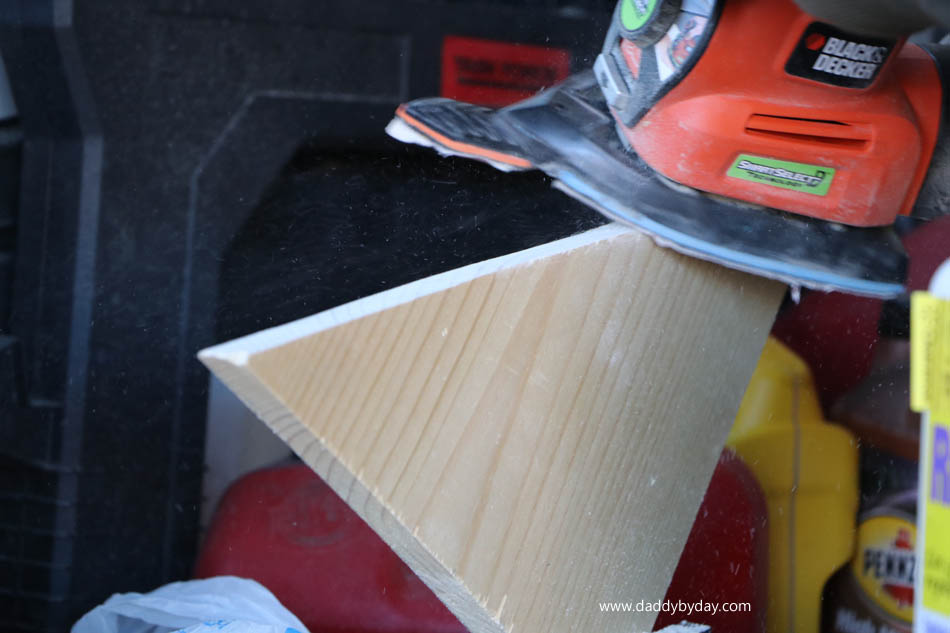
Sand all the edges of the triangle supports and any other edges that you might bump into so you don’t get slivers.





- Paint or Stain
Paint or stain the wood with the desired color. I left mine plain to match my other shelving. (If painting or staining wait until boards are dry before proceeding to next step.)
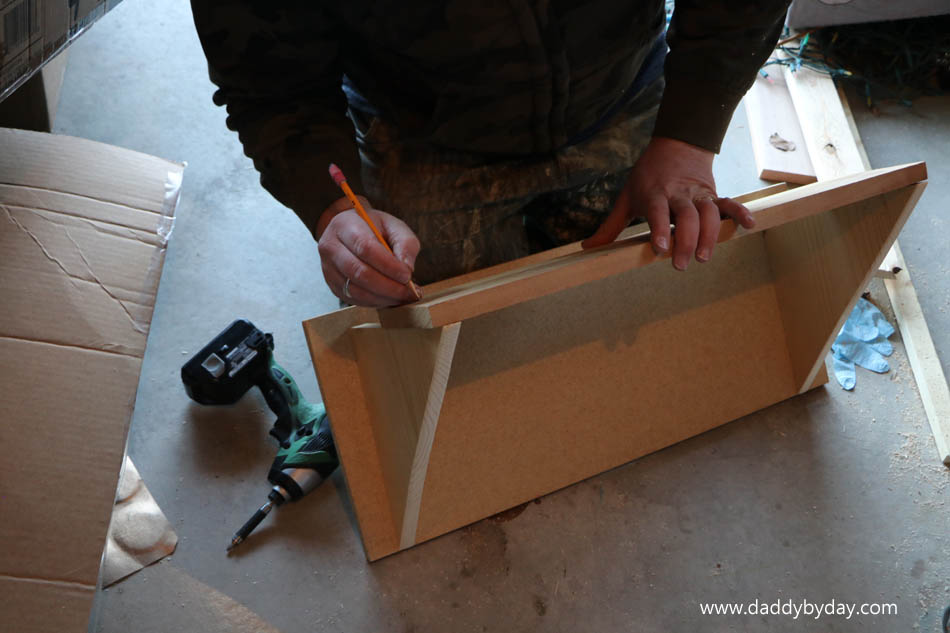
- Fasten all boards together with #6 wooden screws. Use 2 in. screws and 1 ½ in. screws.
I used a vice and clamps to hold the boards together while I screwed them together. (Warning – be careful to not push the screws all the way through the bottom of the triangle supports or it will ruin the finish. Use the 1 ½ in screws for that section.)
- Steel hose clamps and mason jars.
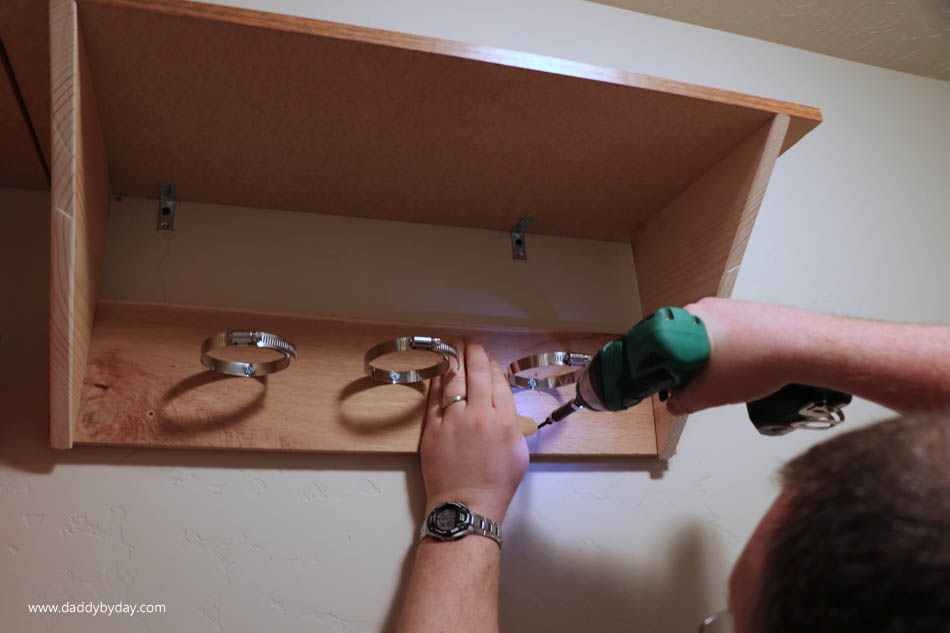
Drill holes through the middle of each of the steel clamps. (If you are unable to drill the holes, use a metal hole/nail punch with a hammer.) Fasten to the back support board in the desired location with #8 3/4 in. screw. I chose to center the middle one and then centering the other two in between the middle and the edge. Place the jars in each of the clamps and tighten down to make sure that the jars won’t fall through. Remove the jars.

- Anchor to wall.
Requires: level, stud finder, 2 – 1 ½ in. steel angle braces, and 6 – 2 ½ in. screws. Find where the studs are and mark the wall with pencil. Hold the shelf that you just built, up in place (you might need a helper) and mark on the underneath side of the shelf where the studs line up, (make sure you center and level your marks in the center of the studs.) Drill holes and attach the angle braces to the shelf using ¾ in. screws. Pre-drill holes in the wall and into the studs. Attach the shelf to the wall with the 2 ½ in screws through the angle braces. Drill 2 more holes through the back support board lining the drill up with each stud, and anchor with 2 more screws.

- Finish the project.
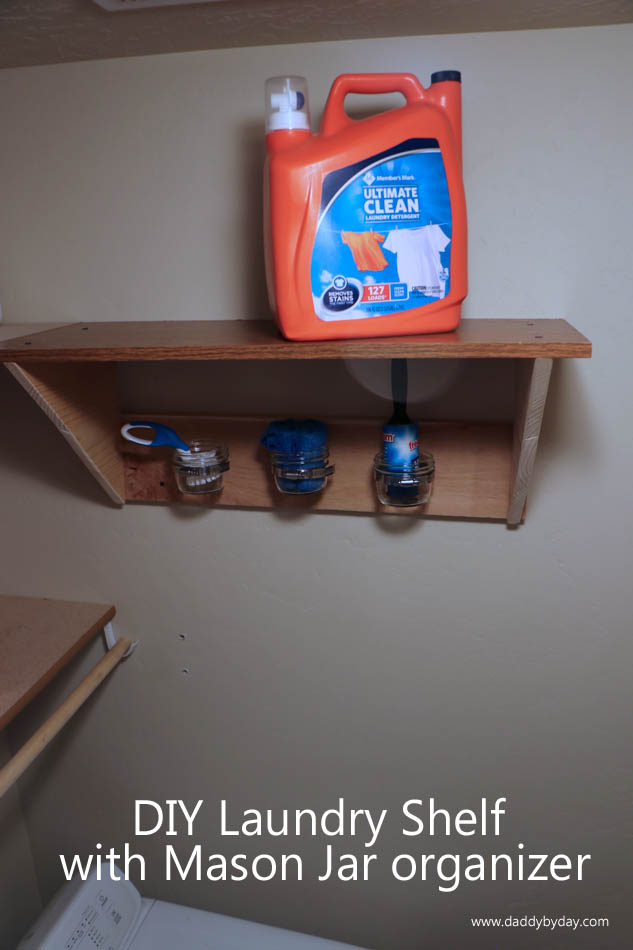
Place the mason jars into the steel hose clamps, place your desired cleaning supplies into the jars, put the Member’s Mark® Ultimate Clean Fresh Clean Detergent on top of the shelf, and admire your work! Most importantly have fun and enjoy.
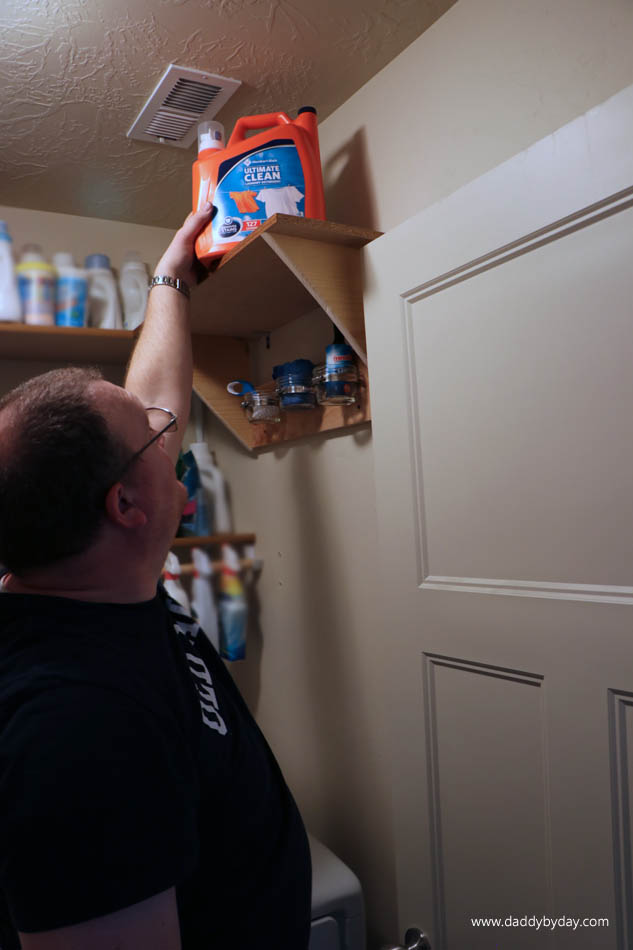

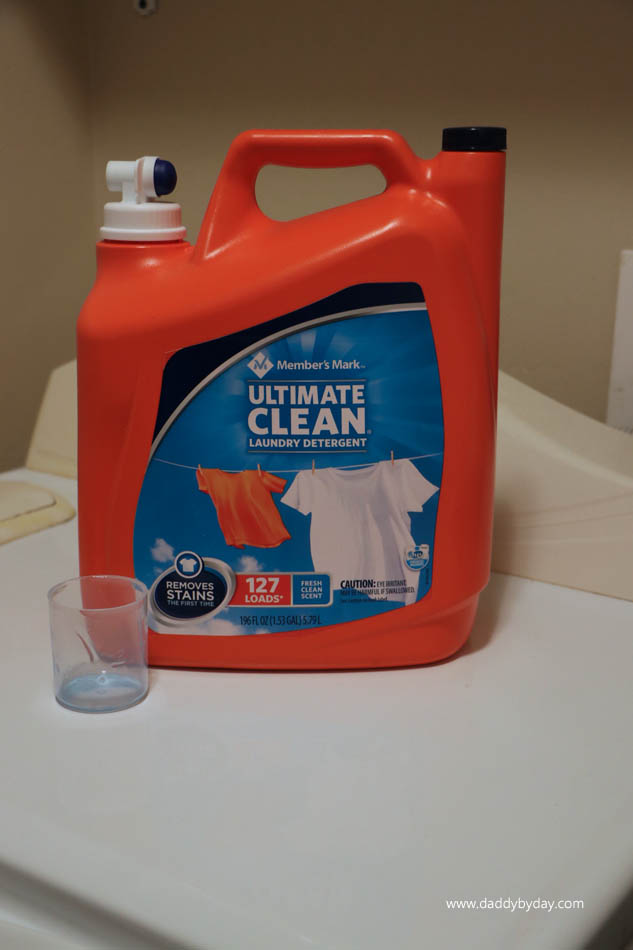
Member’s Mark® Ultimate Clean Detergent makes is easy for my family to do laundry, because we know it removes stains the first time. Also, you can save ($2.00 off) between 12/27/17 and 1/28/18 with the instant savings.


I’ll be passing this tutorial along to my husband so he can make me a shelf, too! [client]
Awesome, have fun with the project.